Posts

What are the steps involved in Microblading?
Microblading has had a rise in demand of late; many people prefer this technique over wearing makeup every day. However a lot of people want to have this method done on their eyebrows, many of them don’t really understand what will happen if they landed in that saloon. It is always important to know what you really long to do so that you can gauge from a distance if you can take it or not. Microblading is not really a ‘plug and play’ thing, it involves several processes that as a probable client, you should be aware of, don’t just be taken by surprise in every step you go. I will be going with you through these various steps that you need to understand before you go for microblading, these steps include;
Consult an Esthetician.
Your mirror only won’t give you 100% results of how your eyebrows are looking and if you want to change them. The thing you will need to do is to find a beautician who has PMU training to do the job. You must go there when you have made up your eyebrows to look exactly the way you would want them to look after microblading. The beautician needs to have a clear picture to know what suits you, for that reason you will be free to make up your eyebrows in different styles until you just rest to one which you are more comfortable with.
Taking measurements.
Well, this is the most important part of the process; the beautician uses their special tools to take measurements directly from your eyebrows. This will help to determine the start point and the endpoints of the eyebrows. This is to make sure that the shape of your new brow won’t go too far from the shape of your natural brows. Also a beautician can be able to recommend the best shape for your eyebrows and the best color that can match your skin tone and your hair.
Drawing with pencil and outlining.
This process involves drawing on your eyebrows with a pencil a rough sketch just to have an idea on how the new chosen brow style is going to fit in. the drawn sketch is just temporary and also it has a deeper color, this should not make you nervous because it can just be removed. After the drawing part, the beautician will do the outlining with the pigment, this is done so because once the numbing cream gets applied the pencil can be pulled off, and this can make it hard to do the actual microblading inaccurate.
Matching of pigments.
This is actually a very important thing you cannot ignore; it involves mixing all the colors chosen and verifies again that they match your skin tone and your hair because it can be frustrating to have eyebrows which will last for more than one year that does not compliment your skin tone.
Numbing.
As we have said before, this method involves numbing of the skin of the eyebrows just to make sure there is no pain is felt, remember it involves making cuts on the skin so there must some pain. Numbness cream is applied on the eyebrows, which is anesthetic, can be done just once or severally depending on the sensitivity of your skin and it typically takes less than ten minutes to work so it is not a long process.
Microblading.
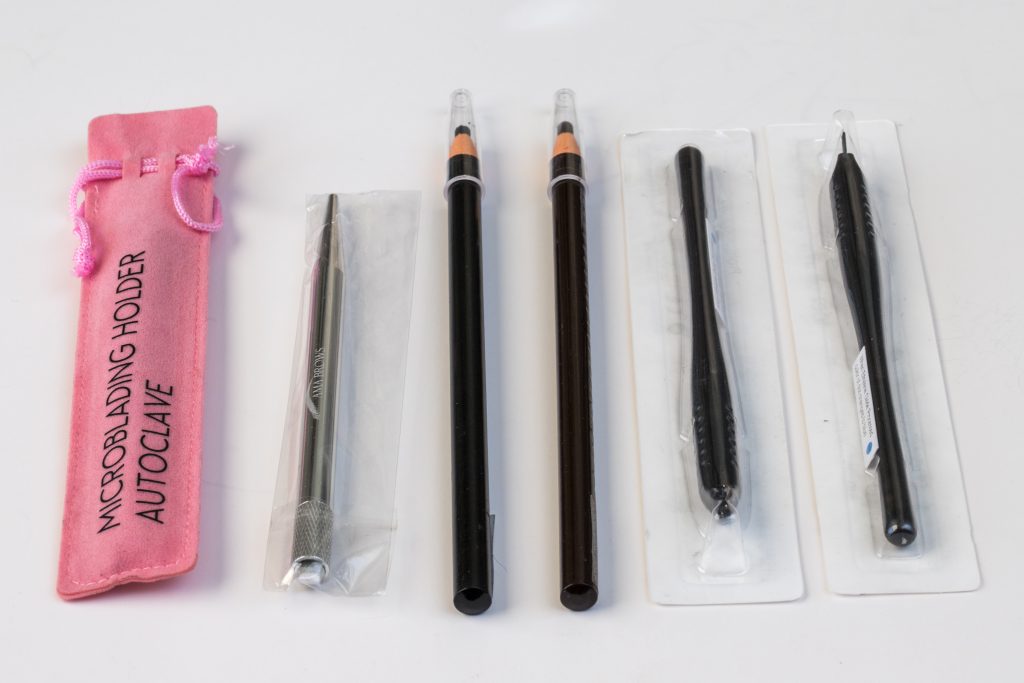
This is a process that is done in layers; it can be a bit painful if you decided not to use the numbness cream. It involves attaching very small hair-like strokes of pigment to the skin of the eyebrows using some micro blade tool which has several very tiny needles that applies the pigment. The previous processes can be done by a beginner beautician, but this particular one is so sensitive, you will need someone you know they are qualified for the job that have a PMU training. After the process, your eyebrows will feel swell a bit and red due to the small cuttings throughout the process, but this won’t take long, and it doesn’t look as bad as it sounds so don’t get afraid and lock yourself up in your room.
Healing process.
Now you are done with the process at the saloon, so what next? As a qualified beautician with proper PMU training, he or she should explain to you very well the aftercare instructions which are very important, if you keep these new eyebrows as dry as possible, according to the aftercare instructions given to you, it might just take you one to two weeks to completely heal up.
At first the pigment will look so dark and you might just think that that is not what you wanted, but this color will just fade off in a short time and you will get your prefer look, it may also fade beyond your expectation, but eventually the color will come out again so don’t get worried, just get patient because this is the healing process anyway. When the skin heals up in any part of the body, it will always feel itchy, this will be the same with the healing process in microblading, it will get itchy as the skin heals but don’t just be tempted to scratch there because it may just lead into some other problems.
Add in sessions.
These are the consecutive sessions that you would want to add in more pigment as time moves on mostly eight weeks after the first session, this will make sure that nothing was missed and it is very important to make the process effective. There is the same procedure as the first one in this one too so you should not apply water to your eyebrows before you come to this one.
